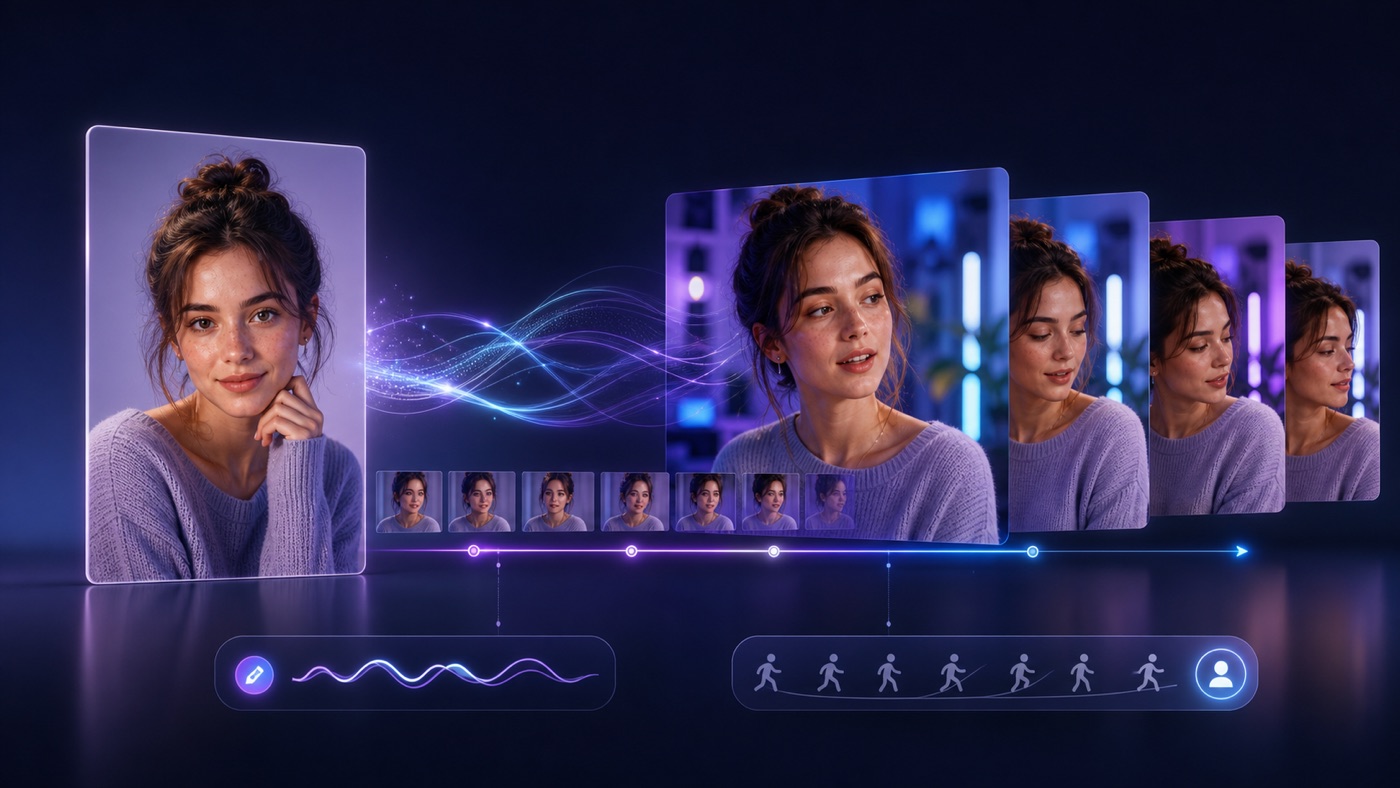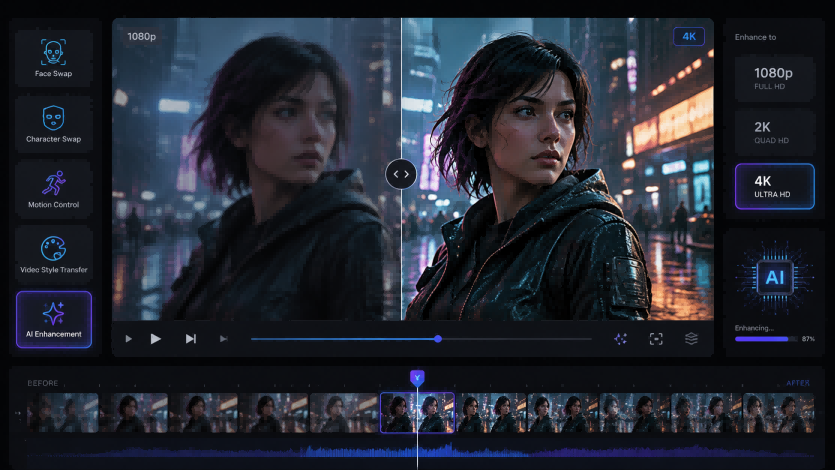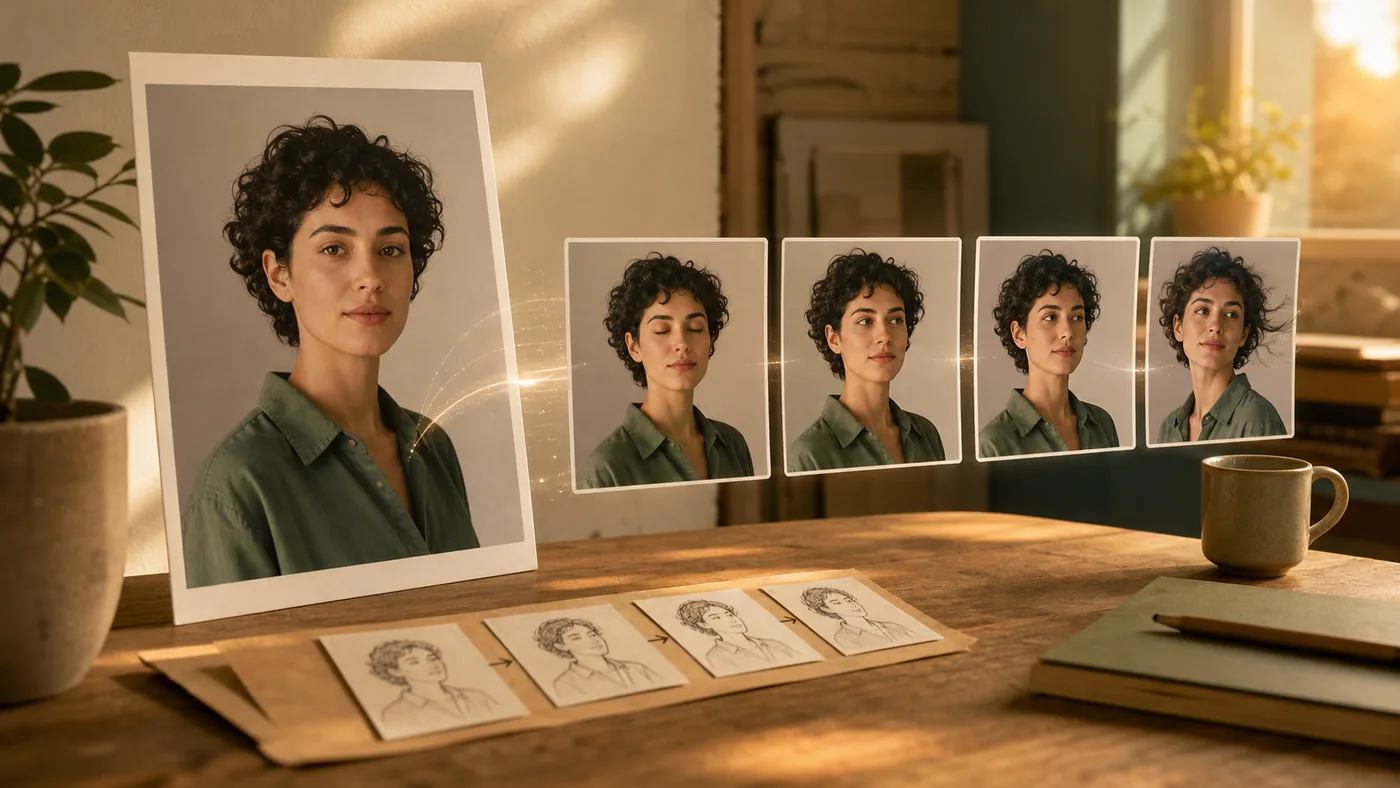
Animating a still photo is easy to start and surprisingly difficult to finish well. Most tools can produce movement in a few clicks, but believable results depend less on adding more motion and more on designing one clear shot. A useful image-to-video workflow begins with the final viewing context, gives the model a stable source image, and introduces movement in controlled layers.
This guide explains how to make AI photo animation feel intentional rather than synthetic. The same principles apply to portraits, product images, landscapes, illustrations, and archival photographs.
1. Decide what the shot needs to communicate
Before writing a prompt, define the job of the clip. Is it a social-media hook, a product detail, a memory brought gently to life, or a transition inside a longer edit? Choose one primary action that supports that purpose. A portrait may need a blink and a slight change of expression. A product may need a slow camera orbit. A landscape may only need moving water and drifting clouds.
Trying to animate every part of the frame at once gives the model too many decisions. A single, readable movement usually looks more polished than a scene filled with unrelated effects.
2. Start with an image the model can understand
Use a sharp source image with one obvious subject, clean edges, and enough space around anything that needs to move. Faces, hands, clothing, and product details should be clearly visible. Match the crop to the intended action: a close portrait suits facial movement, a half-body image supports gestures, and a full-body image is necessary when legs or posture matter.
Also inspect the background. Busy patterns, overlapping people, mirrors, text, and objects crossing the subject can become unstable across frames. Fixing those issues before generation is usually easier than repairing flicker afterward.
3. Separate subject motion from camera motion
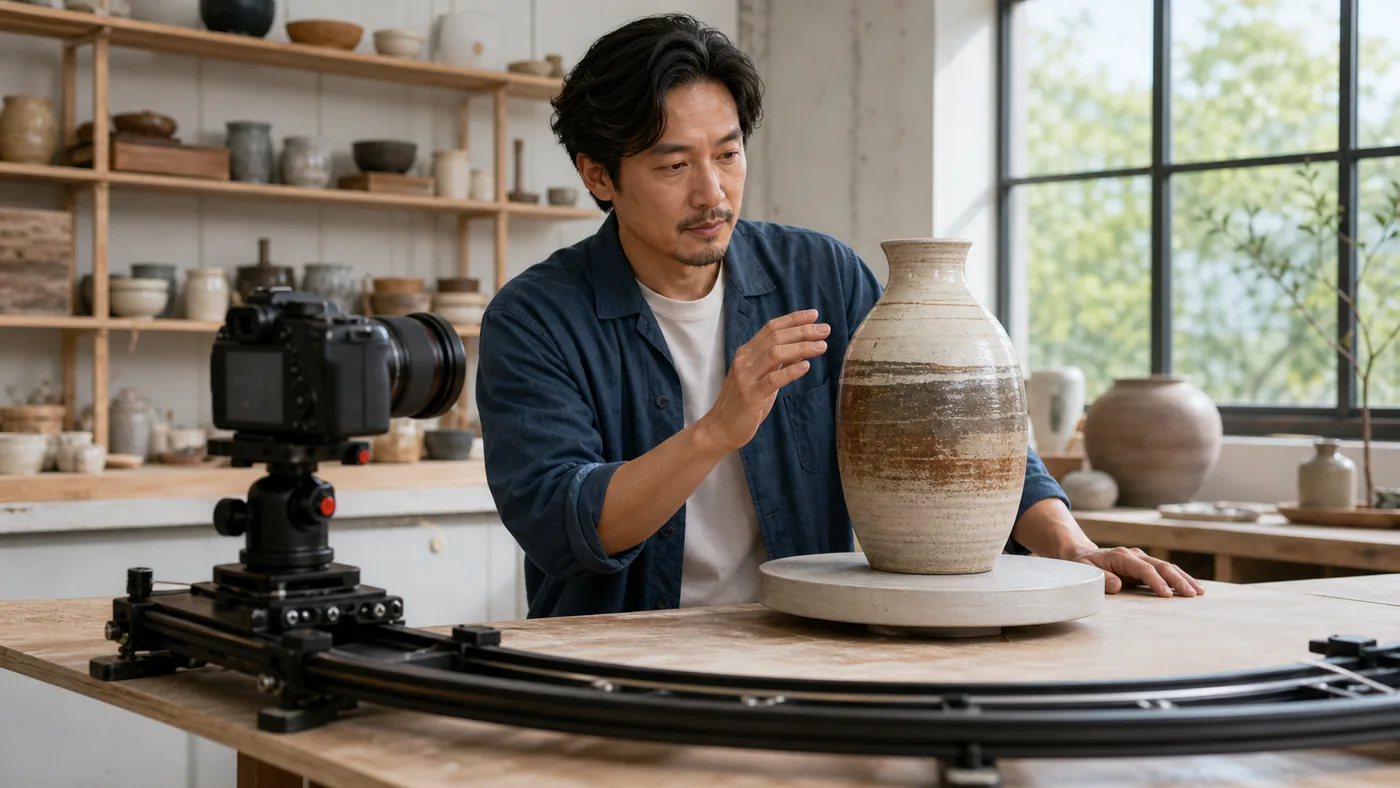
A strong prompt treats movement as two different layers. Subject motion describes what changes inside the scene: a person turns, fabric moves in the breeze, light travels across a bottle, or waves reach the shore. Camera motion describes how the viewer observes it: static framing, a slow push-in, a pan, a tilt, or a gentle orbit.
Start with one subject action and one camera action. If both are aggressive, identity and geometry are more likely to drift. For subtle portraits, a nearly static camera often works best. For products or scenery, a controlled pan or orbit can add energy without forcing the subject to deform.
4. Write prompts as visible directions
A reliable structure is: subject + action + camera movement + lighting or mood. Use concrete words that could be given to a camera operator. “Make it cinematic” is open to interpretation; “the camera slowly pushes in while warm window light moves across the subject” describes something visible.
The subject blinks once and gives a slight natural smile. Loose hair moves gently in a soft breeze. The camera remains steady, with warm afternoon light and realistic motion.
For a product, try: “The bottle remains centered while the camera makes a slow ten-degree orbit. A soft highlight moves across the glass; the label stays sharp.” For scenery: “Small ripples move across the lake, clouds drift slowly, and the camera pans right at a constant speed.”
If you want to practice this process in a browser, a photo-to-video workflow lets you upload a still image, describe the motion, and compare short results before committing to a longer edit.
5. Test short clips and change one variable at a time
Generate a short, modest-resolution test before spending time on a final render. If the result feels wrong, change only one element: reduce the movement, simplify the prompt, use a cleaner crop, or remove a conflicting camera instruction. Changing everything at once makes it hard to learn what improved the shot.
Variation is normal. Save the prompt and source image for every promising result so you can compare versions instead of relying on memory.
6. Design for the final format
Choose the aspect ratio before generation whenever possible. Vertical 9:16 suits Reels, TikTok, and Shorts; square 1:1 is useful for feeds; and 16:9 fits YouTube, websites, and presentations. Reframing later can cut off hands, products, or movement near the edges.
Leave room for captions and interface overlays. Keep important faces and objects away from the extreme top and bottom of vertical footage, where platform controls often appear.
7. Review motion, not just individual frames
Watch the clip at normal speed, then review it slowly. Check whether identity remains stable, hands and edges keep their shape, the background stops warping, and motion begins and ends smoothly. Look for sudden texture changes, duplicated objects, unreadable labels, or movement in areas that should stay still.
If only part of the result works, trim around the stable section rather than forcing a longer shot. In a finished edit, several reliable three-to-five-second clips usually feel stronger than one ambitious but unstable sequence.
Use images responsibly
Work with images you own or have permission to use, especially when recognizable people are involved. Keep human judgment in the process: select the source, shape the motion, reject misleading outputs, and edit the final sequence to match its real context.
Final takeaway
Natural AI photo animation comes from restraint and clarity. Choose a suitable image, define one visual purpose, separate subject movement from camera movement, and iterate in small steps. The model may create the frames, but the creator still determines what the shot communicates and whether the result is ready to share.